On and around Halloween, do you ever look at the neighbors’ jack-o’-lanterns and wish you could creatively carve pumpkins? You don’t have to feel embarrassed about your lack of talent or experience. It doesn’t take a professional to turn a pumpkin into a festive work of art for the holiday. By following some basic tips, you can be proud of your creation and show it off this Oct. 31.
Start With the Pumpkin
To end up with the result you want, you first must have a good pumpkin. For example, you want to avoid picking up anything rotting or one with imperfections such as scratches and gashes. You can find ways to incorporate such blemishes into your design, though.
On your next trip to the store or pumpkin patch, look for options that have smooth surfaces. It should also be ripe. To check this, ensure that the pumpkin is hollow and will not be difficult to cut into. Furthermore, it should have a flat bottom.
Also, choose the right size for your design. Some jack-o’-lanterns need a small pumpkin, while others require a large selection.
Look at the Stem
Some people look at the stem as a tool for carrying the pumpkin. However, this should not be the case. Picking up and carrying the pumpkin by the stem can easily break it off. Instead, carry the pumpkin with your hands underneath. A healthy, intact stem can add to the character of the pumpkin.
Use Good Cutting Instruments
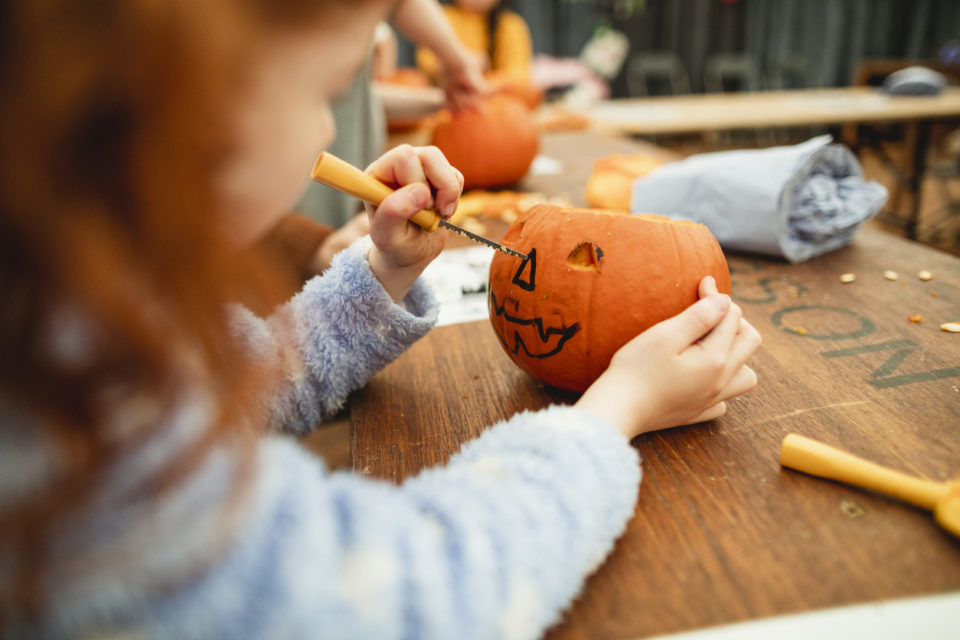
Precise cutting is essential when you are carving a pumpkin. Cutting holes and slits for the eyes, nose, mouth, and other elements requires that you use high-quality knives. Use a serrated steak knife, for instance. Or, carve up the pumpkin with a razor blade, especially for smaller cuts and detail. This will help you avoid mistakes.
Help It Glow
The pumpkin design isn’t the only aspect of this creation that you’re looking for. You also want it to glow at night. An eerily glowing pumpkin in your window on Halloween sets the mood just right. To help achieve this, thoroughly scoop out the insides. Then, scrape the walls of the pumpkin, so they are no more than ¾ of an inch to an inch thick.
You might also like: Pull Up To The Clifton Food Truck Festival
Draw the Design on the Pumpkin
Unless you are confident in your carving skills, you’ll want to mark your design with a marker or a pencil on the pumpkin. This will make it easier to make good cuts and get the results you want. This will be especially helpful for novice carvers and children who want to help.
You can be the talk of the neighborhood this Halloween with your pumpkin carvings. Check out these tips today so you can be ready for some fun and scares.
Disclaimer: The stock image is being used for illustrative purposes only, and it is not a direct representation of the business, recipe, or activity listed. Any person depicted in the stock image is a model.